Custom Report Designer
Create a New Report
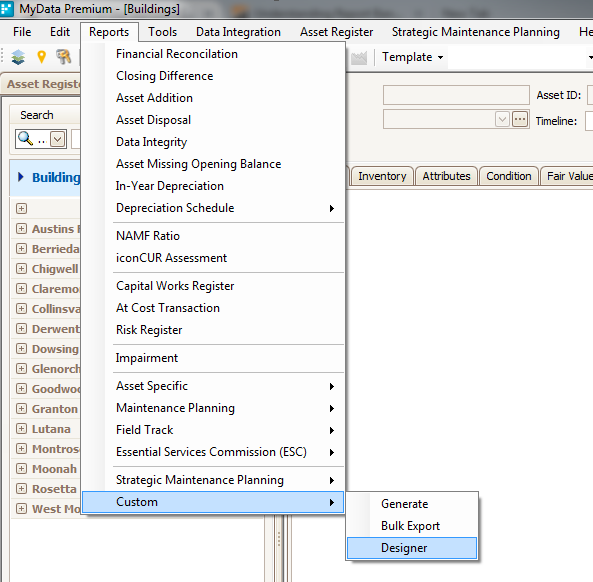
To create a new report, open the Custom Report Designer by navigating to Reports > Custom > Designer:

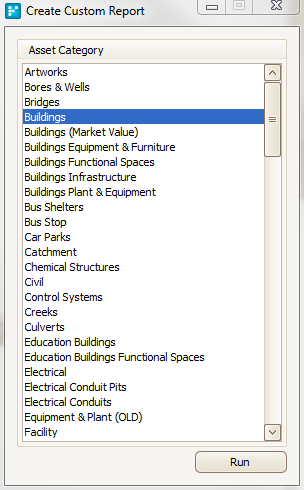
When prompted, select the Asset Category you want to create the custom report for and hit Run:
You will be taken to a new blank report by default. To save the report, go to File > Save As, and give your report an appropriate file name (please save any new reports in the default file directory).
|
Note
|
|---|
|
In myData versions 1.6.4 and earlier, reports are automatically bound to the selected Asset Category Data Member upon creation. Additional features have been added in more recent versions, allowing users to bind reports to different Data Members. To account for this, users on version 1.6.6 and later are required to bind their report to the relevant Data Member upon creation (data can be bound at a later stage, but it is easiest to carry this out when the report is created). Follow the steps below to bind a report to a Data Member:
|
Open an Existing Report
To open an existing custom report template, open the Custom Report Designer by navigating to Reports > Custom > Designer:
When prompted, select the Asset Category you want open an existing report for and hit Run:

You will be taken to a new blank report by default. To open an existing report, go to File > Open and select one of the existing REPX files.
Using the Report Designer
For training on mastering this tool please contact support@assetic.com.
Master Detail
Master Detail
http://documentation.devexpress.com/#XtraReports/CustomDocument1466
Grouping
